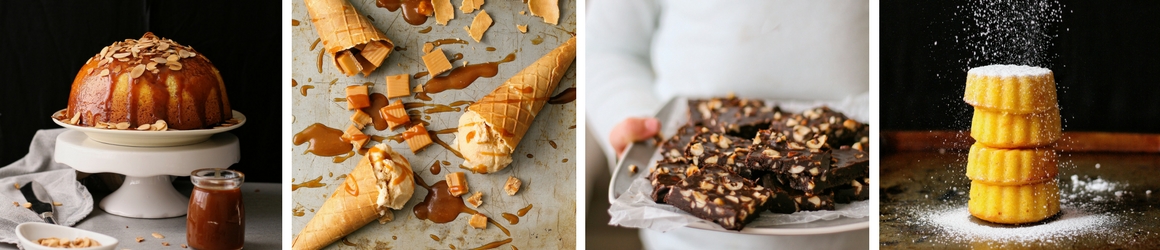


I prepared the fondant decorations a few days before the party and stored them in an airtight container. The vanilla cakes, chocolate icing and pretzel ladders were prepared the day before, so that on the day of the party I simply had to ice the cake and pop the decorations on.
Another tip is to make a few extra decorations in case there are any breakages before party day!
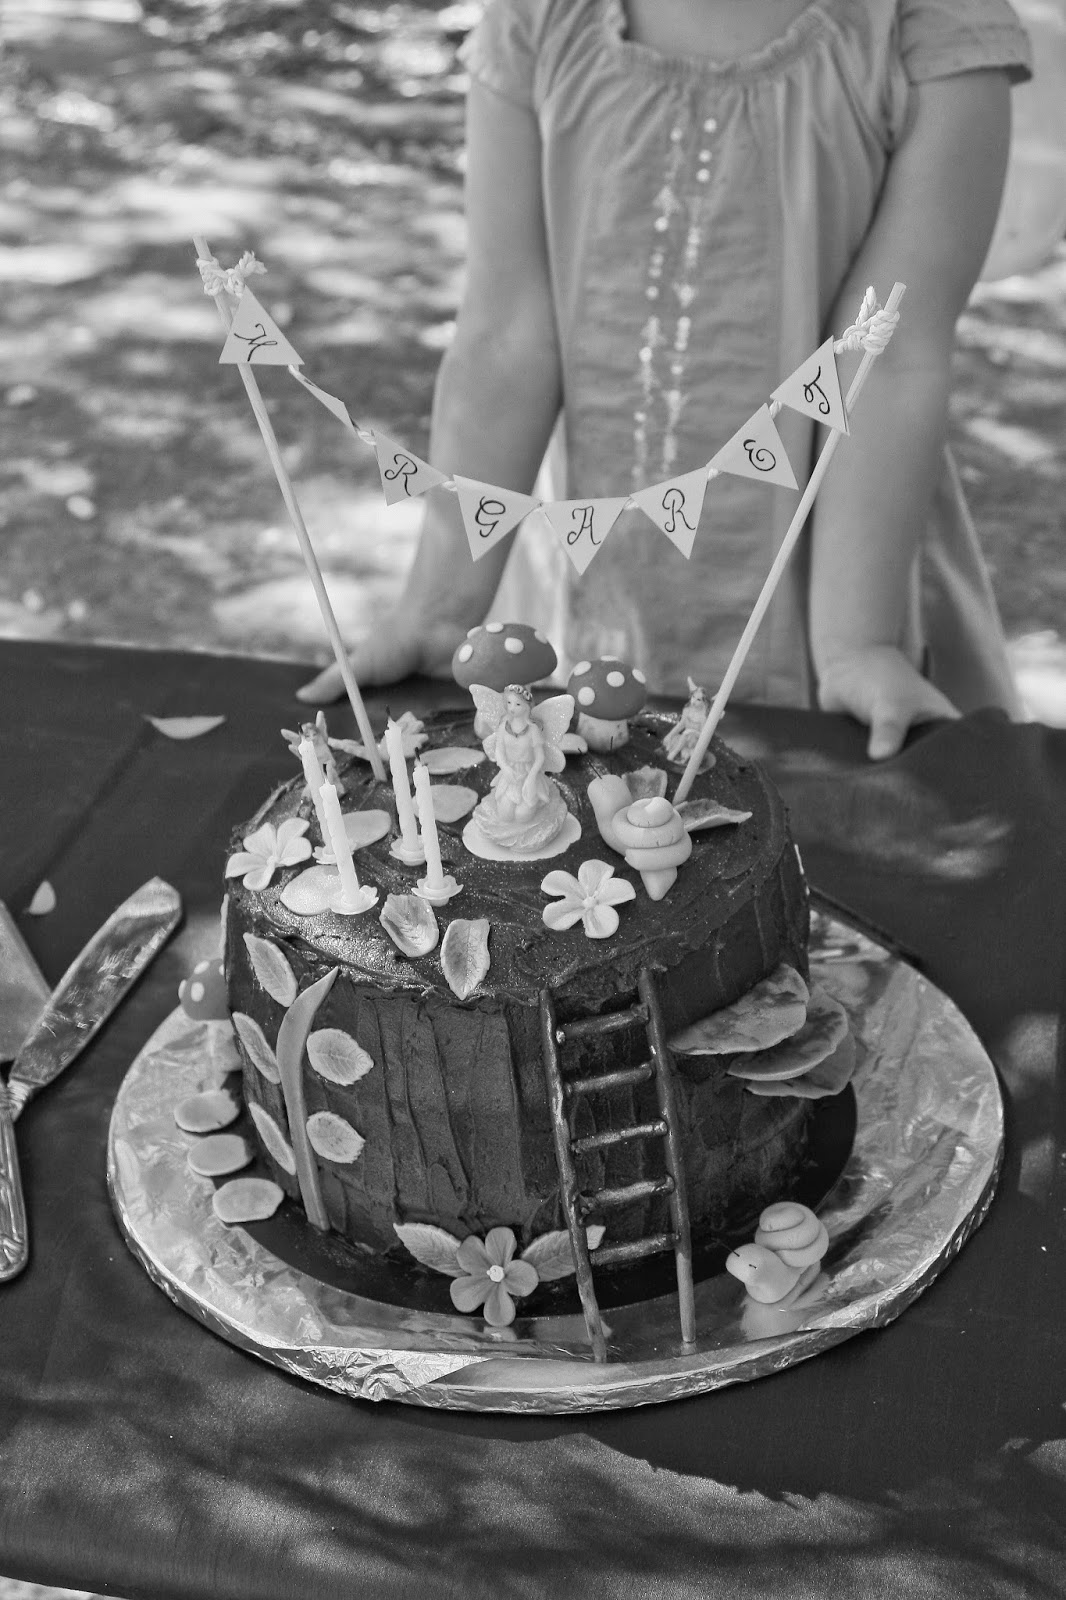
AN ENCHANTED FAIRY CAKE
For the cake:
- 3 x 20cm vanilla cakes
- 350g butter, room temperature
- 650g icing sugar
- 50g cocoa
- 50 ml warm milk
To decorate:
- fondant icing
- gel food colouring in assorted colours
- icing flowers
- cutters (leaves, butterflies, flowers, etc.)
- 50g chocolate coated pretzel sticks
- 1 tbsp chocolate chips
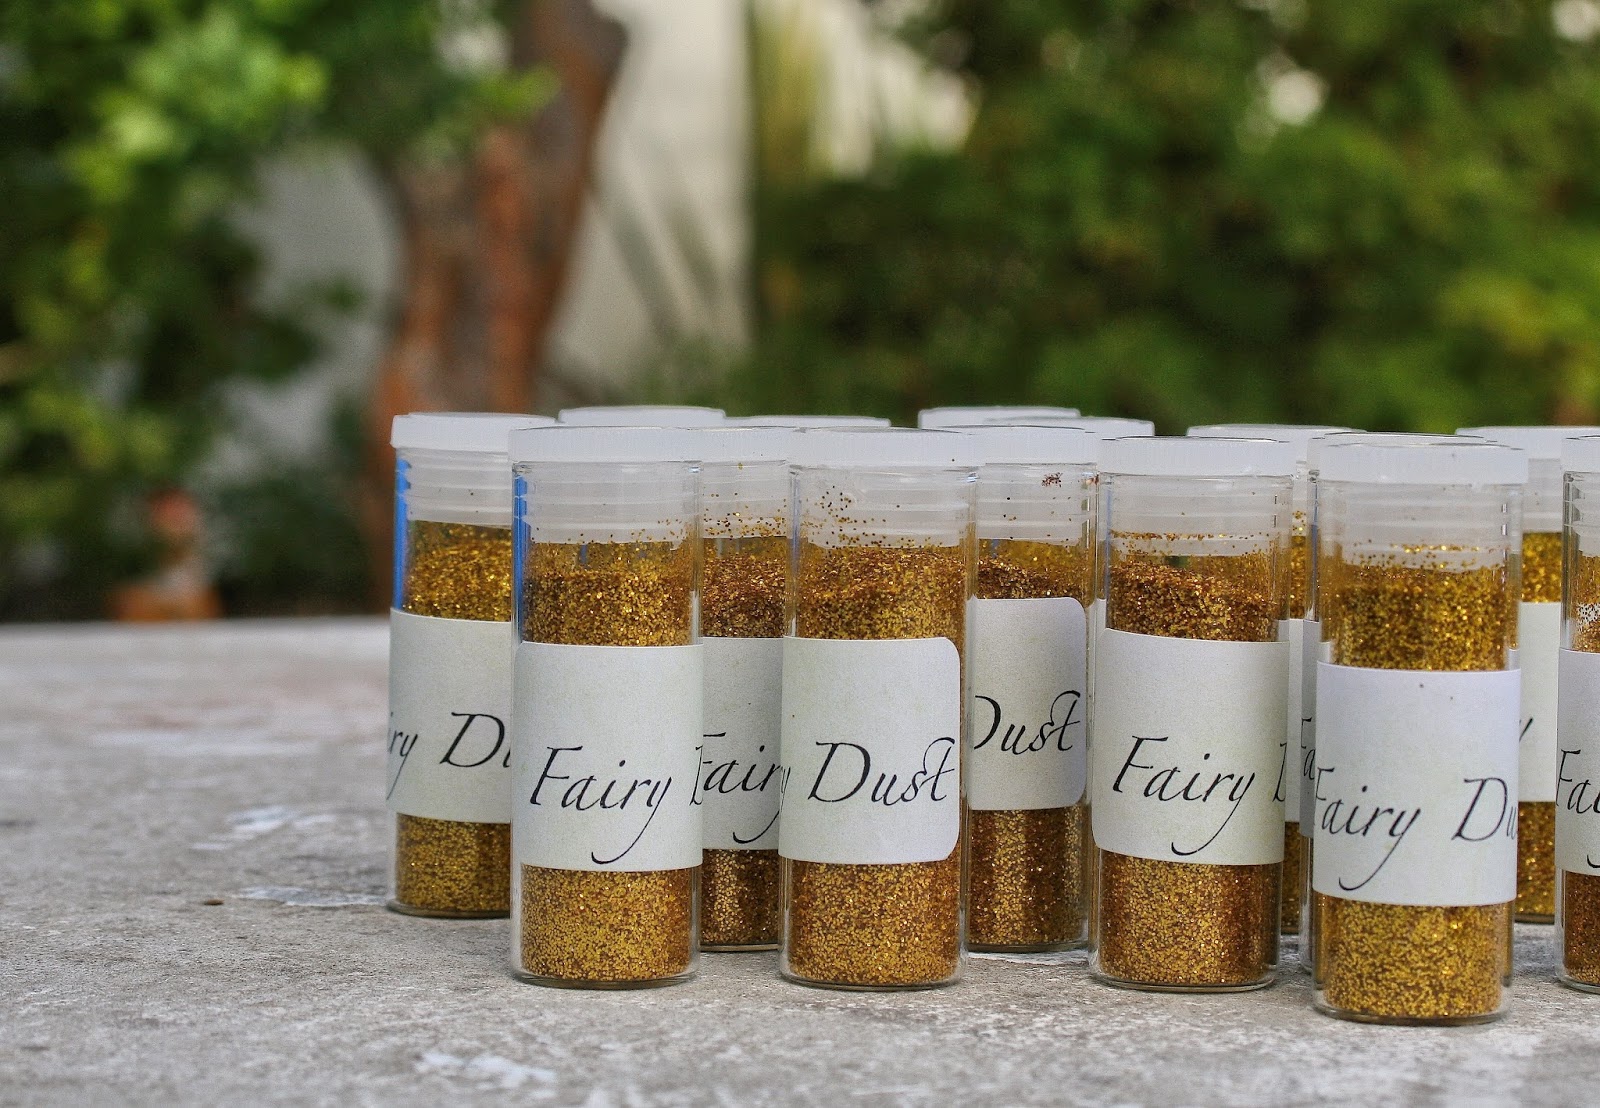
- edible gold dust
- edible glitter
- cake bunting
- wire (0.45mm)
- fairy figurines
For the cake:
1.) Ensure that the vanilla cakes are completely cool before icing them.
2.) To make the icing: place the butter in the bowl of a freestanding mixer and beat to soften. (And electric mixer will also do the trick.) Sift in the icing sugar and cocoa and beat until the mixture comes together. Add half of the milk and continue to beat slowly until the milk has been incorporated. Scrape down the sides of the bowl, then continue to add milk gradually until the icing has a soft, spreadable consistency. (You may not need all of the milk.)
3.) Place one of the cakes on a plate. Spread a thin layer of icing over the top. Place another cake on top and repeat the process. Place the last layer on top and ice the top and sides of the cake with chocolate icing.
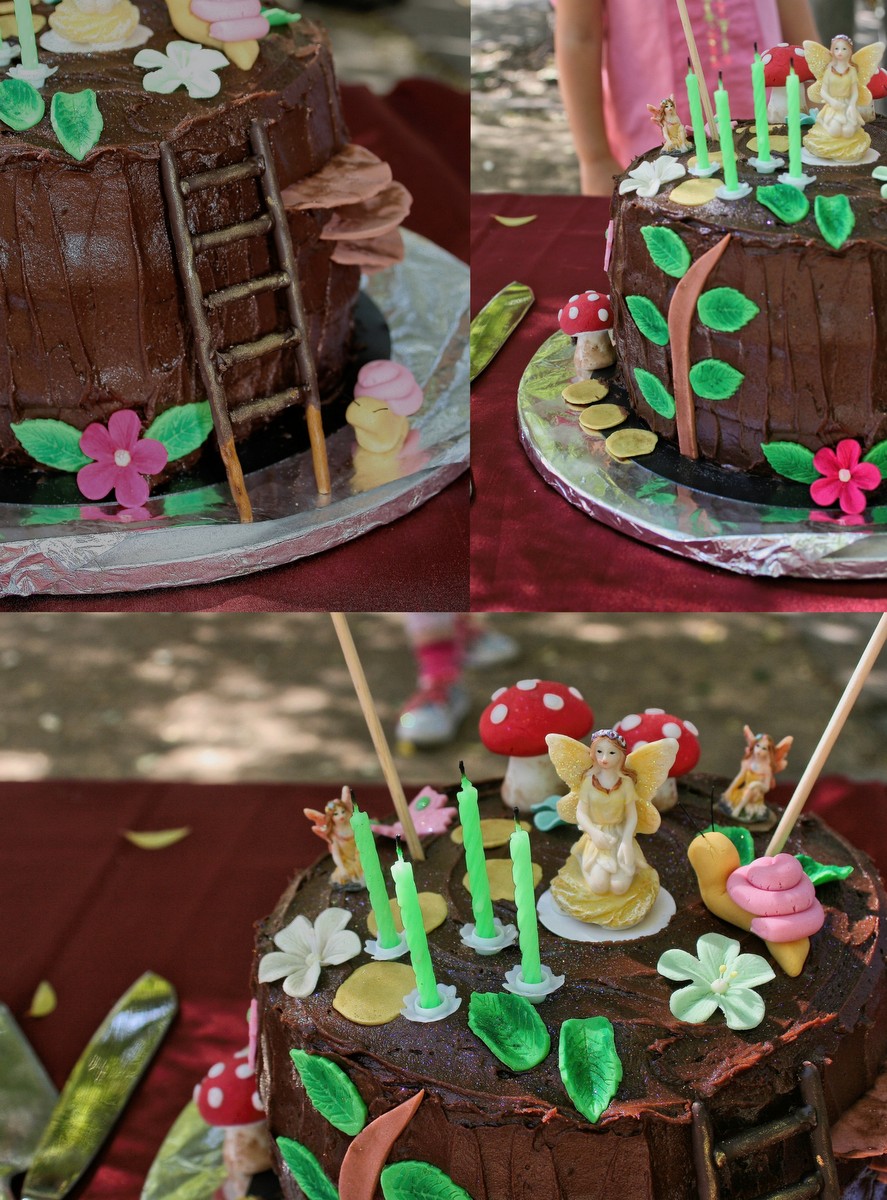
5.) While the icing is still soft stick the stems and leaves around the sides of the cake. Add the flowers, butterflies and remaining decorations and finish with a light dusting of glitter.
- branches/stems – I used brown gel colouring to make brown fondant. Roll out thinly and use a sharp knife to cut out long, thin stems to stick up the side of the cake.
- leaves – I used green food colouring to make green fondant. I then used a leaf cutter which I picked up at a nearby plastic shop to cut out the leaf shapes. I left most of these to dry flat, but I also made a few curly leaves by gently curling them over a skewer to dry. I finished them off with a light dusting of green food colouring powder to give a shading effect.
- butterflies – I used a cutter for these too, you should be able to find one at most plastic stores. I used pre-coloured pink fondant icing for the butterfly bodies and added some detail by decorating the wings with tiny green fondant circles. I also added some shimmer with a light dusting of white glitter. I left a few of the butterflies to dry flat and stuck these around the side of the cake. The rest I dried in a “V’ shape by placing the butterflies inside a piece of paper that had been folded into a v-shape, and put these on top of the cake.
- flowers – I used some beautiful store bought icing flowers. Most baking shops have a good selection of really pretty ones, or you could make your own with a cutter.
- mushrooms – I got this idea from Sprinklebakes.com. Roll out some brown fondant and cut out 6cm circles. Press the edges between your thumb and forefinger to give them a ruffled look. Dust with some cocoa powder and leave to dry completely. On party day cut some small slits into the side of the cake and insert the mushrooms.
- toadstools – these were great fun to make and so easy. I used white and pre-coloured red fondant. Roll some white fondant icing into a tube with a 1cm diameter. Taper the top slightly and flatten the base so that it can stand nicely. Roll some red fondant into a walnut sized ball, then gently press your thumb into the middle and gently shape the ball into a toadstool cap. Cut out a thin circle of white fondant and press this into the bottom of the cap to give it a more authentic look. Decorate the top of the toadstool cap with tiny white fondant circles attached with a small amount of water. Attach the caps of the toadstools to the stems. Dust the base of the stems with a tiny bit of cocoa to give them a “muddied” appearance and leave to dry. On party day I used toothpicks to help secure them to the cake – sticking one half into the toadstool stem and the other half into the cake.
- fairies – I used small fairy figurines that I bought from a nearby fairy shop. I cut out a small circles of cardboard to stick to the base of each fairy before popping them onto the cake so as not to ruin them with chocolate icing!
- fairy ladder – I love this idea. Set aside two chocolate coated pretzel sticks for the sides of the ladder. Then cut another two or three pretzel sticks into rungs of the same length. Melt the chocolate chips, then dip one side of each rung into the melted chocolate and glue it onto a pretzel stick. (I found it easiest to glue all of the rungs onto one stick first. I then dabbed some chocolate onto the other ends of all the rungs and stuck them to the other stick.) Leave to dry on some baking paper.
- snails – I used some yellow food colouring to make yellow fondant. I rolled the fondant into a sausage and shaped this into the snail’s body, lifting the head up and tapering the tail slightly. I then rolled some pre-coloured pink fondant into a long thin sausage which I curled around to make the snail’s shell. I stuck this to the body with a little water. I cut two short pieces of wire and used these as the snail’s tentacles. I used a small ball of crumpled up baking paper to help hold up the snail’s head while he was drying.
- stepping stones – these were simply small circles cut out of yellow fondant. I decided to cut them out free hand rather than use a cutter to give them a more irregular and natural look. I also finished them off with a light dusting of gold dust.
- bunting – you could buy bunting from any party shop, but I decided to save myself one hundred ront and make my own! Making your own also means you can personalise the name and choose your own colours. I simply cut diamonds out of thin card, folded them in half and then added my text to one side. I glued the cards onto some pretty string which I attached to two skewers and bobs your uncle – homemade bunting!
- glitter – no fairy party is complete without fairy dust, and I was sure add a dusting of glitter to the cake as the final touch.
[/recipe]

Lovely cake and party idea!
LikeLiked by 1 person
Happy birthday to your lovely baby girl T. Her cake looked gorgeous. Well done xx
LikeLiked by 1 person
Thanks Cherise. It's such a popular theme for the little ones, so I couldn't wait to share!
LikeLike
Thanks my friend. She had such a fun afternoon, special times! xx
LikeLike
It was a magical and beautiful cake! And delicious too:)
LikeLiked by 1 person
Ah, thanks for your kind message. So glad you enjoyed it. 🙂
LikeLike
Happy birthday to you sweet girl. The cake is so pretty, what a detailed cake maker you are. As for little girls, the best is yet to come.
LikeLiked by 1 person
Thank you Sam, and what a lovely comment. I'll hold onto that one! x
LikeLike
A fantastic fairy party and the birthday cake looked truly amazing! Loved every bit of this wonderful party. Thanks a lot for these photos. I am going to host a fairy themed party for my daughter and this post will help me a lot in that. Currently searching for an affordable party venue NYC for her birthday bash.
LikeLike